DIY Home Decor: Refresh Your Living Room with These Stylish Projects

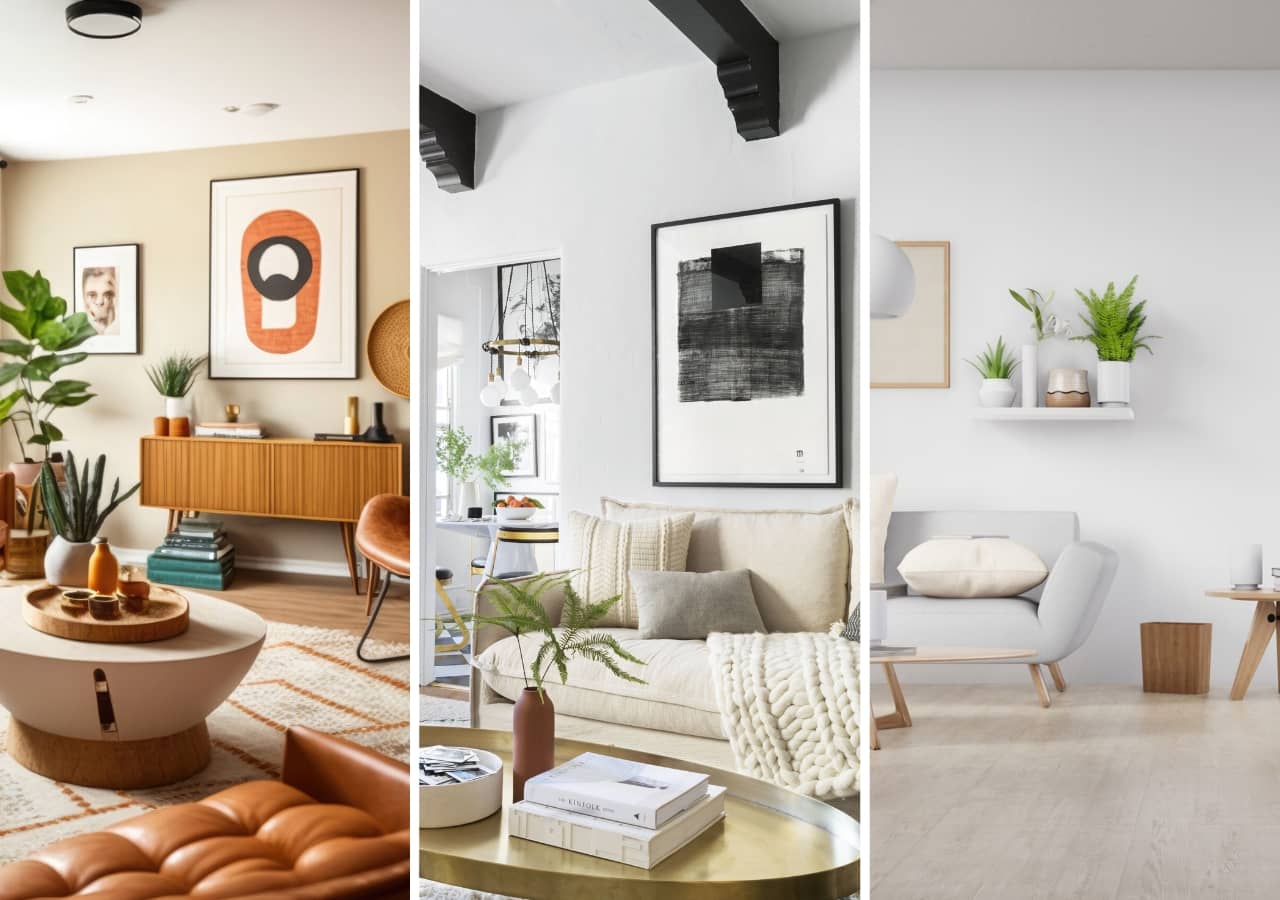
Home decor plays a crucial role in creating a warm and inviting atmosphere in any living space. It serves as a reflection of your style and can significantly impact your mood and overall well-being.
Thoughtfully chosen decor elements, such as color schemes, furniture arrangements, and decorative accents, can evoke feelings of comfort and happiness.
A refreshed living room has the power to transform a dull or cluttered space into a vibrant and welcoming environment, making it ideal for relaxation, social gatherings, or entertaining guests.
Remember, your home is your canvas, and each choice you make contributes to a masterpiece that represents who you are.
In the article “DIY Home Decor: Refresh Your Living Room with These Stylish Projects”, we’ll explore a range of simple yet stylish projects that you can tackle yourself to give your living room a fresh, new look.
Incorporating elements like plants, artwork, and cozy textiles can further enhance this transformation, bringing life and character to your space. Investing time and creativity into your home decor allows you to tailor your environment to suit your preferences and needs.
By doing so, you not only enhance your living space but also create a personal sanctuary that reflects your unique taste and lifestyle. Embrace the joy of decorating, knowing that each effort you put into your home brings you closer to a space that feels truly yours.
It’s a place where you can unwind after a long day, enjoy quality moments with loved ones, or find inspiration to fuel your creativity.
Ultimately, the right decor can turn your house into a true home, filled with warmth and joy. Believe in the power of your creativity and vision, as they hold the key to transforming any space into a haven of comfort and happiness.
Let your home be a testament to your individuality, a place where every corner echoes with your personal touch and every room invites positivity and peace.
Table of Contents
1. DIY Projects: Throw Pillows
Materials Needed


- Fabric of your choice (cotton, linen, or upholstery fabric)
- Pillow inserts (available in various sizes)
- Sewing machine or needle and thread
- Fabric scissors
- Measuring tape or ruler
- Pins
- Iron and ironing board
Step-by-Step Instructions
- Measure and Cut Fabric: Decide on the size of your pillows and cut two pieces of fabric for each pillow, leaving an extra inch on all sides for seams.
- Pin the Pieces Together: Place the fabric pieces right sides together and pin them along the edges, leaving a small opening (about 5 inches) on one side for turning and stuffing.
- Sew the Fabric: Using a sewing machine or needle and thread, sew around the edges, removing the pins as you go. Ensure you secure the corners well.
- Turn the Pillow Inside Out: Carefully turn the pillow cover right side out through the opening.
- Stuff the Pillow: Insert the pillow insert into the cover through the opening, pushing it into the corners.
- Close the Opening: Fold the raw edges of the opening inward and pin it closed. Sew it shut by hand or machine for a neat finish.
Tips for Choosing Fabrics and Designs
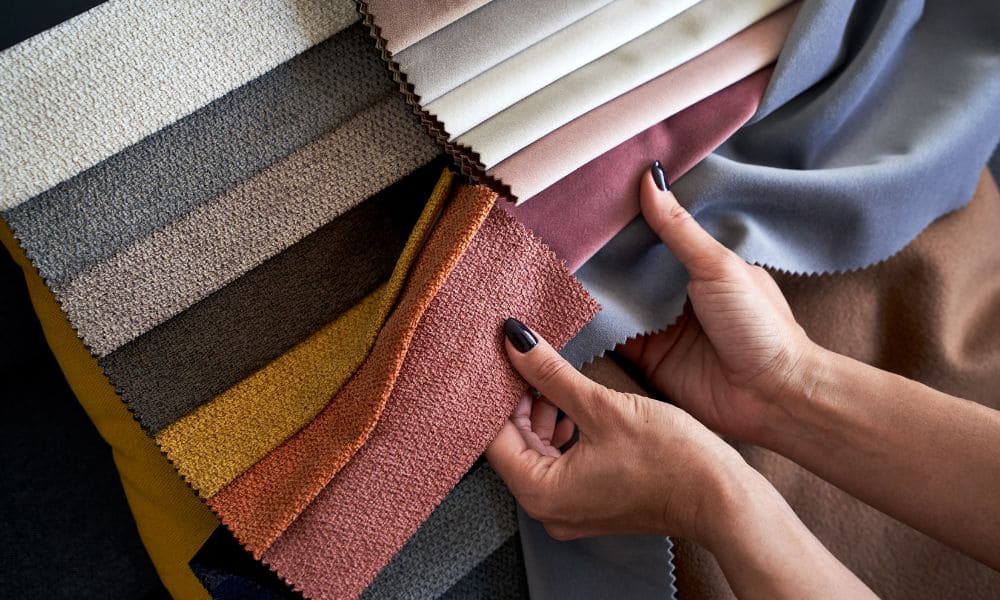
- Consider Your Space: Choose fabrics that complement your existing decor. Neutral colors can provide versatility, while bold patterns can serve as focal points.
- Fabric Type: Opt for durable materials if your pillows will be used frequently. Upholstery fabric is great for longevity, while softer fabrics like cotton are perfect for comfort.
- Mix and Match: Don’t be afraid to mix different patterns and textures. Combining various designs keeps your space interesting and dynamic.
- Personal Touch: Personalize your pillows with unique patterns or embellishments, such as buttons or appliqué, to make them truly one-of-a-kind.
2. DIY Projects: Gallery Wall

Concept of a Gallery Wall
A gallery wall is a creative way to display art, photographs, and other personal mementos in a visually appealing manner. It acts as a focal point in your living room and allows you to express your personality and style.
By combining different elements, you can tell a story or convey a theme that resonates with you and your family.
Selecting Photos and Frames
When choosing photos for your gallery wall, consider selecting a mix of personal photographs, artwork, and prints that reflect your interests and memories.
Different sizes and orientations can add depth and interest. For frames, opt for a cohesive color scheme or finish, such as black, white, or wood, to give a polished look.
Alternatively, you can use a variety of frames to create an eclectic vibe, but maintain a common theme or color palette to ensure harmony.
Arrangement Ideas
Before committing to a layout, experiment by laying the frames on the floor or using painter’s tape on the wall to visualize the arrangement. You might choose a grid formation for a structured feel or a more organic layout for a casual look.
Ensure that the spacing between frames is consistent, usually around 2 to 4 inches apart. Start by placing the largest piece in the center, then arrange the smaller pieces around it. Balance various shapes and styles to create an eye-catching composition that feels intentional and inviting.
3. DIY Projects: Custom Shelving
Benefits of Adding Shelves
Custom shelving provides numerous advantages for your home. It maximizes vertical space, making smaller rooms feel more open and organized. By adding shelves, you create additional storage opportunities for books, decorative items, and plants.
This not only keeps your space tidy but also allows for personal expression through curated displays. Moreover, custom shelves can enhance the overall decor of your home, serving as a stylish feature that complements your interior design.
Materials and Tools Required


- Wooden boards (size and type depending on your design)
- Brackets or floating shelf hardware
- Drill with screwdriver bits
- Level
- Measuring tape
- Sandpaper
- Paint or wood stain (optional)
Instructions for Installation
- Plan Your Layout: Determine where you want to install your shelves and how many you need. Sketch a layout to visualize the final look.
- Measure and Mark: Use a measuring tape and level to mark the desired height and angle of the shelves on the wall. Make sure to calculate the spacing between shelves based on the items you plan to display.
- Prepare the Wall: If you’re using brackets, find the wall studs to ensure a secure installation. You can use a stud finder for this.
- Cut and Sand the Wood: Cut your wooden boards to the desired length if necessary and sand them to create a smooth finish.
- Attach Brackets: Secure the brackets to the wall where marked, drilling into the studs if applicable. Use the level to ensure they are straight.
- Position Your Shelves: Place the wooden boards onto the brackets, ensuring they fit snugly and securely.
- Finish Your Shelves: If desired, paint or stain your shelves to match your decor before adding decorative pieces. Allow any finishes to dry completely before use.
With these steps, you can achieve beautiful custom shelves that enhance your living space while providing practical storage solutions.
4. DIY Projects: Upcycled Furniture
Explanation of Upcycling
Upcycling is the creative process of transforming old or discarded furniture into new, functional pieces. The goal is to reduce waste and give a second life to items that might otherwise end up in landfills.
This approach not only benefits the environment but also allows you to express your creativity and personal style. By reimagining old furniture, you can create unique pieces that reflect your personality while saving money.
Ideas for Furniture to Upcycle


- Dressers: Transform a vintage dresser with a fresh coat of paint and new hardware for a modern look.
- Tables: Turn an old side table into a decorative plant stand or coffee table by adding a fun design or repurposing materials.
- Chairs: Reupholster dining chairs or lounge chairs with vibrant fabric to give them a fresh appearance.
- Bookshelves: Combine old shelves to create a more substantial bookcase or a unique display unit.
- Ladders: Convert wooden ladders into stylish bookshelves or decorative stands for plants and knick-knacks.
Steps to Transform Old Pieces
- Select Your Furniture: Choose a piece that you want to upcycle, considering its condition and potential for transformation.
- Clean and Prepare: Clean the piece thoroughly to remove any dust and grime. If necessary, disassemble it for easier access to all surfaces.
- Sand and Repair: Sand down rough edges and surfaces. Repair any damage, such as loose joints or scratches, to ensure the final product is sturdy.
- Paint or Stain: Choose a color or stain that fits your vision. Apply a primer if needed, then paint or stain the furniture, allowing it to dry completely between coats.
- Add Creative Touches: Personalize your piece with new hardware, decals, or stencils. Consider adding texture with fabric, rope, or other materials.
- Reassemble and Style: If you disassemble the furniture, reassemble it. Once complete, style your newly upcycled piece in your home, showcasing your creativity and enhancing your decor.
5. DIY Projects: Indoor Plants
Importance of Plants in Home Decor
Indoor plants play a crucial role in enhancing home decor. They add life and color to any space, making rooms feel more inviting and vibrant.
Beyond aesthetics, plants can improve air quality by filtering pollutants and releasing oxygen. Incorporating greenery in your home can also promote a sense of well-being, reduce stress, and create a calming atmosphere.
Best Types of Indoor Plants for Living Rooms
Some excellent choices for living rooms include:


- Snake Plant: This hardy plant thrives in low light and requires minimal care, making it perfect for beginners.
- Pothos: Known for its trailing vines, pothos can be placed on shelves or in hanging baskets for a lovely cascading effect.
- Peace Lily: With its elegant white blooms, peace lilies add sophistication and can flourish in various lighting conditions.
- Spider Plant: Renowned for its air-purifying qualities, this plant is easy to propagate and grows well in indirect sunlight.
- Fiddle Leaf Fig: A trendy addition, this plant features large, glossy leaves and serves as a stunning focal point in any room.
Tips for Care and Arrangement
- Lighting: Assess the light conditions in your living room and choose plants that will thrive in that environment. Place more light-sensitive plants closer to windows.
- Watering: Be mindful of the watering needs of each plant. Overwatering is a common mistake, so ensure pots have drainage and only water when the top inch of soil is dry.
- Grouping: Arrange plants in clusters of varying heights and leaf shapes to create visual interest. Use decorative pots that complement your decor style.
- Cleaning: Regularly dust the leaves to keep your plants looking healthy and vibrant. This is especially important for plants with larger leaves.
- Rotate: Occasionally rotate your plants to ensure they grow evenly and receive adequate light from all angles.
With these tips in mind, you can create a beautiful indoor garden that enhances your living space and brings nature indoors.
Conclusion
In this document, we’ve explored a diverse range of DIY projects that can significantly enhance your living space.
Whether you’re interested in building custom shelves that perfectly fit your style and needs, upcycling old furniture into beautiful new pieces, or incorporating indoor plants to breathe life into your home, there’s something here for everyone.
Each project not only offers a chance to express your creativity but also serves to improve the functionality and aesthetic of your home environment.
We encourage you to take on one or more of these engaging projects, especially if you’re looking to organize your space more effectively, refresh outdated furniture that may have lost its charm, or simply bring the soothing beauty of nature indoors.
Remember, every small effort counts, and even the simplest changes can lead to a significant difference in how you experience your living area. Plus, DIY projects are a great way to unwind and channel your artistic energy!
We’d love to see your results! Please feel free to share your completed projects along with any tips or tricks you have discovered along the way. Your insights could help inspire others in their DIY journeys.
Happy crafting, and may your home reflect your unique personality and creativity!


